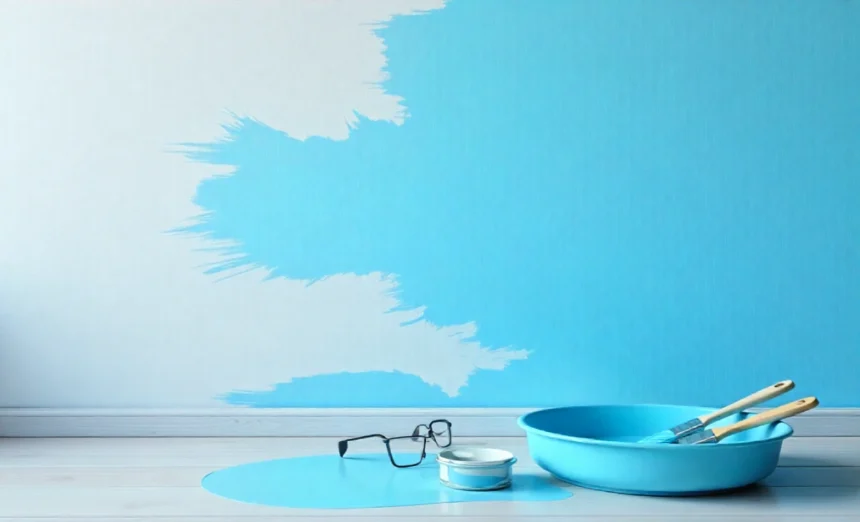
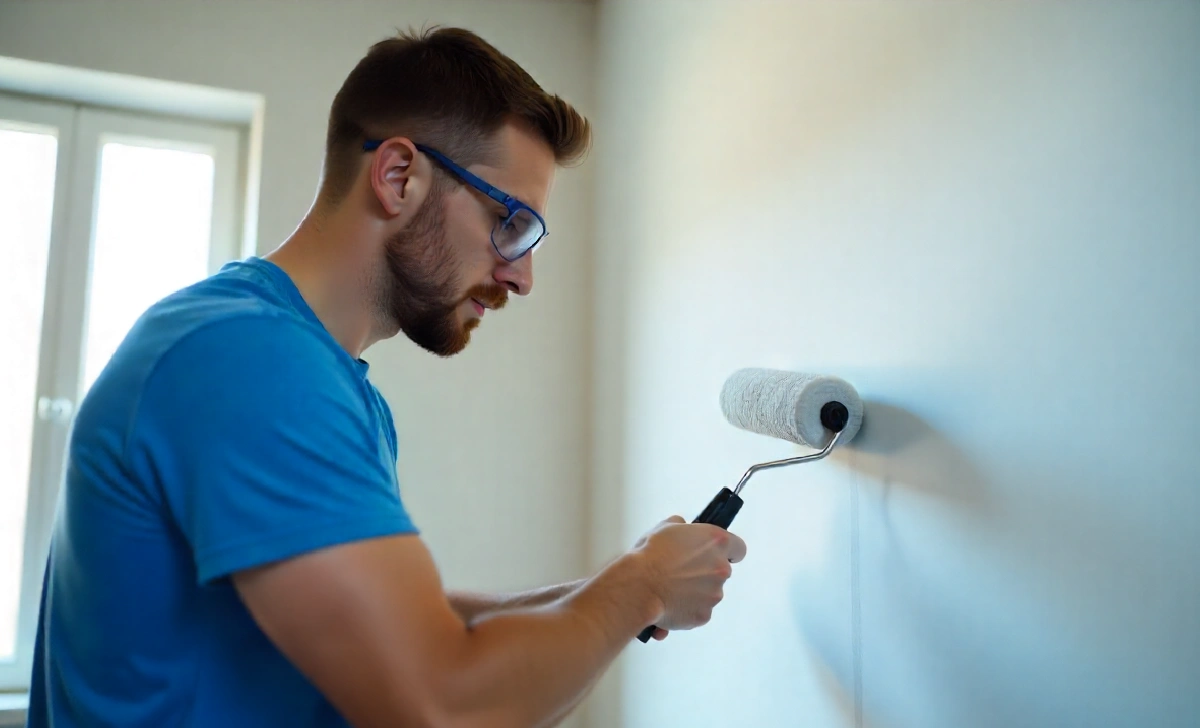
You’ve spent hours preparing your walls, carefully chosen the perfect colour, and started painting with high hopes. Then you step back and see those dreaded streaks running through your fresh paint job. Your heart sinks as you realise your DIY paint finish looks patchy and uneven.
- Poor Roller Technique Creates Uneven Coverage
- Wrong Roller Nap Causes Surface Texture Issues
- Low-Quality Paint Causes Coverage Problems
- Incorrect Paint Thinning Ruins Consistency
- Poor Lighting Hides Application Mistakes
- Temperature and Humidity Affect Paint Flow
- Contaminated Rollers Leave Marks
- Skipping Primer Creates Adhesion Issues
- Overworking Paint Creates Texture Problems
- Loading Roller Incorrectly Affects Coverage
- Conclusion
Streaky paint finishes plague many homeowners, but they’re completely preventable once you understand the root causes. Most streaking happens due to poor technique, wrong tools, or rushing the process. The good news? You can fix these issues and achieve that smooth, professional-looking finish you’re after.
Let’s examine the most common reasons your DIY paint finish turns streaky and discover simple solutions that work every time.
Poor Roller Technique Creates Uneven Coverage
Your painting technique directly impacts your final result. Many DIY painters make the mistake of applying too much pressure or using inconsistent strokes across the surface.
Rolling paint requires a light touch and systematic approach. Press too hard and you’ll push paint around unevenly, creating thick and thin areas that dry into visible streaks. Inconsistent roller movements compound this problem by leaving overlapping marks that become permanent once the paint sets.
Example: Start each wall section with a light “W” pattern, then fill in with parallel strokes. Keep your roller loaded with paint but not dripping, and maintain consistent pressure throughout each stroke.

Wrong Roller Nap Causes Surface Texture Issues
The roller cover you choose dramatically affects your paint finish quality. Using the wrong nap (the fuzzy part of the roller) for your surface creates streaks and uneven texture.
Smooth surfaces like drywall need short-nap rollers (6-10mm) to avoid leaving texture marks. Longer naps (12-25mm) work better on textured surfaces but create streaks on smooth walls. The pile length determines how much paint the roller holds and how it distributes across your surface.
Tip: Test your roller on a hidden wall section first. If you see obvious texture patterns or thin coverage, switch to a different nap length before continuing.
Low-Quality Paint Causes Coverage Problems
Cheap paint often lacks the pigment density and flow properties needed for smooth application. These paints tend to streak because they don’t spread evenly or cover consistently across the surface.
Budget paints contain more water and fewer solid particles, making them thinner and harder to control. They also dry faster, which reduces your working time and increases the chance of lap marks forming where wet paint meets partially dry paint.
Example: Premium paints might cost 50% more, but they typically cover better in one coat and provide smoother finishes. This saves you time and frustration while delivering professional results.
Incorrect Paint Thinning Ruins Consistency
Adding too much water or solvent to your paint changes its viscosity and flow characteristics. Overly thinned paint runs off your roller too quickly, creating uneven coverage and visible streaks.
Paint manufacturers formulate their products for optimal consistency straight from the tin. When you thin paint excessively, you disrupt this balance and create application problems. The paint becomes too watery to maintain proper film thickness across the surface.
Solution: If you must thin paint for spraying or specific conditions, follow the manufacturer’s guidelines exactly. Never exceed their recommended thinning ratios.
Poor Lighting Hides Application Mistakes
Painting in dim conditions prevents you from seeing streaks as they form. You need adequate lighting to spot coverage problems while the paint remains wet and workable.
Natural daylight provides the best conditions for painting, but bright artificial lights work when daylight isn’t available. Side lighting reveals surface imperfections better than overhead lighting alone.
Tip: Use a portable work light positioned at an angle to your painting surface. Move it frequently to check your progress from different angles.

Temperature and Humidity Affect Paint Flow
Environmental conditions directly influence how paint behaves during application. High temperatures cause paint to dry too quickly, creating lap marks and streaks. High humidity slows drying time but can cause paint to sag or run.
Paint performs best between 15-25°C with moderate humidity levels. Outside this range, you’ll struggle to achieve smooth, streak-free results regardless of your technique.
Solution: Plan your painting projects for mild weather conditions. Use fans for air circulation in humid conditions, but avoid painting in direct sunlight or extreme temperatures.
Contaminated Rollers Leave Marks
Dirty rollers transfer debris, dried paint, or cleaning residue onto your fresh surface. These contaminants create streaks and texture problems that become visible as the paint dries.
New rollers often have loose fibres that shed during initial use. Used rollers might contain dried paint particles or cleaning solution residue if not properly cleaned and stored.
Preparation: Remove loose fibres from new rollers using masking tape before first use. Clean used rollers thoroughly with appropriate solvents and allow them to dry completely before reuse.
Skipping Primer Creates Adhesion Issues
Bare surfaces or dramatic colour changes require primer to ensure proper paint adhesion and coverage. Without primer, your topcoat may absorb unevenly into the surface, creating a streaky appearance.
Different surfaces absorb paint at different rates. Drywall joints, patches, and repairs typically absorb more paint than surrounding areas, leading to visible differences in sheen and colour depth.
Example: When painting over dark colours with light paint, use a high-quality primer designed for your specific situation. This provides a uniform base colour and prevents bleed-through that causes streaking.
Overworking Paint Creates Texture Problems
Repeatedly rolling over the same area after the paint begins to set creates drag marks and streaks. Paint develops surface tension as solvents evaporate, making it harder to smooth out with additional rolling.
Each paint has a specific working time window. Once you exceed this time, additional rolling disturbs the partially dried film and creates permanent marks in your finish.
Technique: Apply paint in manageable sections and avoid going back over areas once they start to lose their wet edge. Work systematically across the surface rather than jumping around.
Loading Roller Incorrectly Affects Coverage
Too much paint on your roller causes dripping and uneven application. Too little paint creates dry rolling and streaky coverage. Finding the right balance takes practice but makes all the difference in your results.
Properly loaded rollers hold enough paint for smooth application without excess that creates problems. The paint should distribute evenly across the roller cover without pooling at the edges.
Method: Load your roller in the paint tray, then roll off excess on the textured area. The roller should feel substantial but not heavy when properly loaded.
Conclusion
Streaky paint finishes result from preventable mistakes in technique, tools, or preparation. Most problems stem from poor roller handling, wrong equipment choices, or unsuitable environmental conditions. Once you identify and address these common causes, achieving smooth, professional-looking paint finishes becomes straightforward.
Start your next painting project by choosing quality tools, preparing surfaces properly, and working in good conditions. Take your time with each section and maintain consistent technique throughout the job.
Ready to tackle your next painting project? Share your biggest painting challenges in the comments below, and let’s solve them together.